

Contouring has a reputation for being complicated, mostly because of dramatic tutorials that make it look like sculpting rather than makeup. In reality, contouring for beginners can be simple: a few shades, a couple of placements, and good blending. Most of the intimidation comes from overcomplicated face maps, when the actual technique just follows your natural bone structure. For more beginner-friendly beauty guides like this one, browse Daily Makeup Tips. Here’s a clear, step-by-step guide to contouring the right way, without the guesswork.
What Is Contouring in Makeup?
Contouring means using a shade darker than your skin tone to create shadow in areas you want to appear more defined, like the hollows of the cheeks, sides of the forehead, and jawline. It works by mimicking the natural shadows your face already has, which is why subtle contouring tends to look more believable than heavy, sharp lines.
How to Contour for Beginners: Step by Step
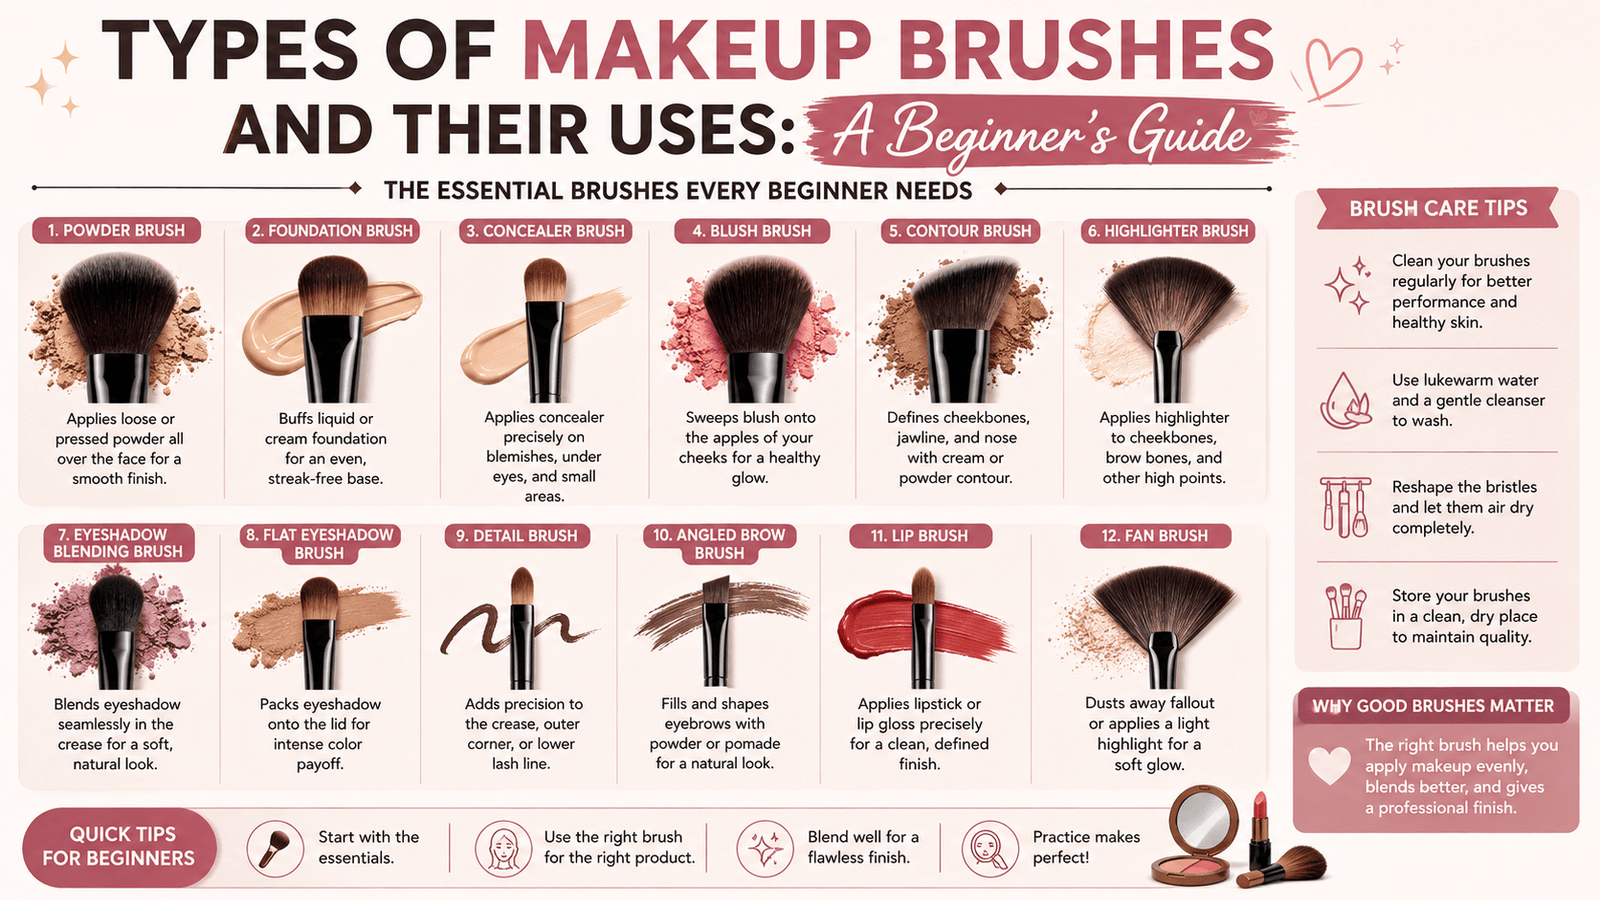
Start with a contour shade one to two tones darker than your skin, applied under the cheekbones, along the hairline, and under the jaw. Blend immediately using a damp sponge or brush before the product sets. Add highlighter to the high points of your face, like the cheekbones and bridge of the nose, then blend everything together so there’s no harsh line between shades. If you want to build on this for a fuller look, our full glam makeup tutorial for beginners walks through the rest of the routine.
Concealer or Contour First? Correct Application Order

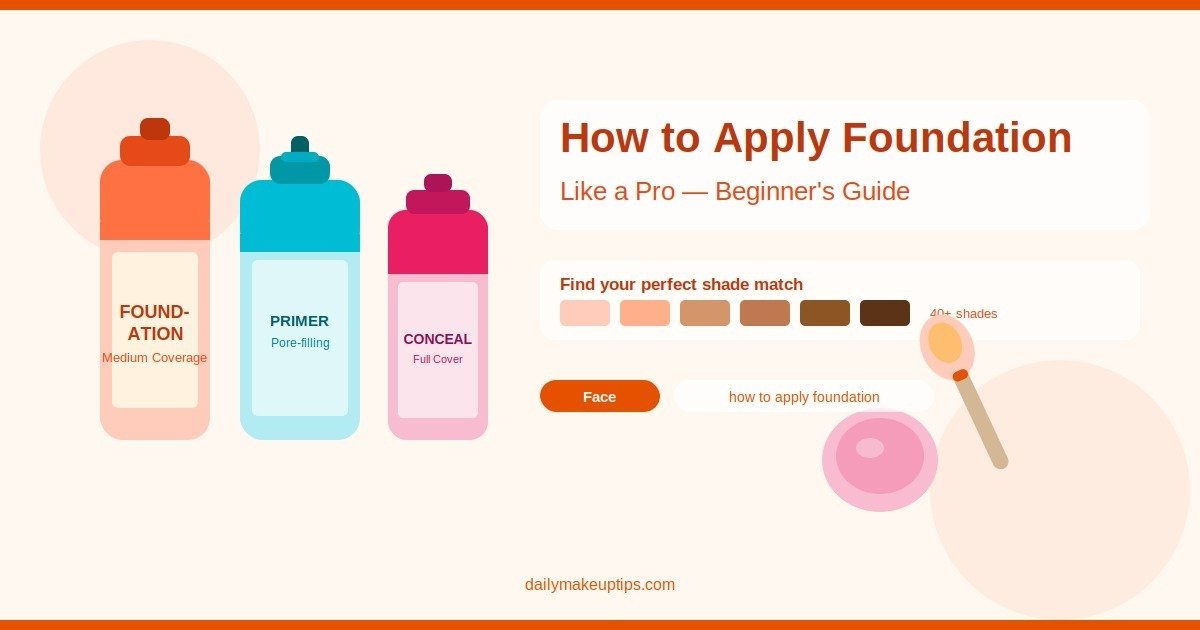
Contour goes on after foundation but before concealer, especially if you’re using cream products, so the shades blend into each other smoothly. If you’re using powder contour, it goes after concealer and setting powder instead, since it needs a set base to sit on without shifting.
| Contour Type | Order in Routine |
|---|---|
| Cream contour | After foundation, before concealer |
| Powder contour | After concealer and setting powder |
Types of Contouring: Cream, Powder, and Stick
Cream and stick contours blend easily into foundation and give a more natural, skin-like finish, which makes them beginner-friendly. Powder contour is easier to build up gradually and works well over a fully set base, but it requires a bit more blending skill to avoid looking patchy. Beginners usually find cream or stick formulas easier to control at first.
The Basic Rules and Principles of Contouring
The core rule of contouring is simple: dark shades recede, light shades come forward. Contour should always be placed where natural shadow would fall, not in random lines across the face. Highlighter goes on the areas that naturally catch light. Following your face’s real structure, instead of a generic diagram, gives more natural results.
Common Contouring Mistakes to Avoid
The biggest contouring mistakes are using a shade too dark or too orange-toned for your skin, applying too much product at once, and not blending thoroughly enough. Another common mistake is placing contour too high or too low on the cheekbones, which can shift the whole shape of the face instead of subtly defining it. Skipping a light dusting of setting powder over cream contour can also cause it to slide or fade faster than expected, especially in warm weather.
How to Blend Contour Correctly
Always blend contour before blending highlighter, working from the darkest product outward using upward, circular motions. A damp beauty sponge tends to give the most seamless finish for beginners, since it absorbs excess product and prevents harsh lines better than a dry brush.
Easy Contouring Techniques for Different Face Shapes

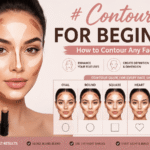
For rounder faces, contour along the sides of the forehead and under the cheekbones to add length. For longer faces, a touch of contour on the chin and hairline helps balance proportions. For square faces, softening the corners of the jawline with contour creates a more rounded look. These are starting points, not strict rules, since blending and personal preference matter more than exact face-shape charts.
The Purpose of Highlighting and Contouring Together
Contour and highlighter work as a pair: contour recedes areas back, while highlighter brings areas forward, and together they create the illusion of dimension on an otherwise flat surface. Using only contour without highlighter can look muddy, while using only highlighter can look flat, which is why most routines use both.
Best Contour Products for Beginners
For beginners, a cream or stick contour in a shade close to your natural skin undertone is the easiest starting point, since it’s more forgiving to blend than powder. Look for a cool or neutral-toned shade rather than a warm bronzer shade, since true contour shades are meant to mimic shadow, not add warmth. A multi-use stick that works for both contour and touch-ups is a practical choice while you’re still building your kit.
Should You Contour After 50? Contouring for Mature Skin
Contouring after 50 works best with cream formulas rather than powder, since powder can settle into fine lines and emphasize texture. A lighter hand with contour, focused on soft definition rather than sharp lines, tends to look more natural on mature skin, along with a dewier highlighter instead of a shimmery one. Pairing this with a strong anti-aging skincare routine and a good vitamin C serum also helps the skin underneath look smoother, which makes contour blend even better.
How to Adapt Contouring for Pakistan’s Climate and Skin Tones
In Pakistan’s heat and humidity, cream contour can slip if it isn’t set properly, so a light dusting of translucent powder over cream contour helps it hold through the day. For deeper skin tones, choosing a contour shade with enough depth to actually show up, rather than a shade made mainly for fair skin, makes a noticeable difference in how visible and natural the contour looks. Testing a shade in daylight, rather than under indoor lighting alone, also helps avoid an ashy or mismatched finish once you step outside. Once your base look is done, finishing touches like a long-lasting lipstick or even fresh gel nails at home can complete the overall look.
Frequently Asked Questions