

Nail art does not have to be complicated to look impressive. The designs in this guide require minimal tools, basic technique, and zero prior nail art experience. Most take under 15 minutes and use tools you likely already have.
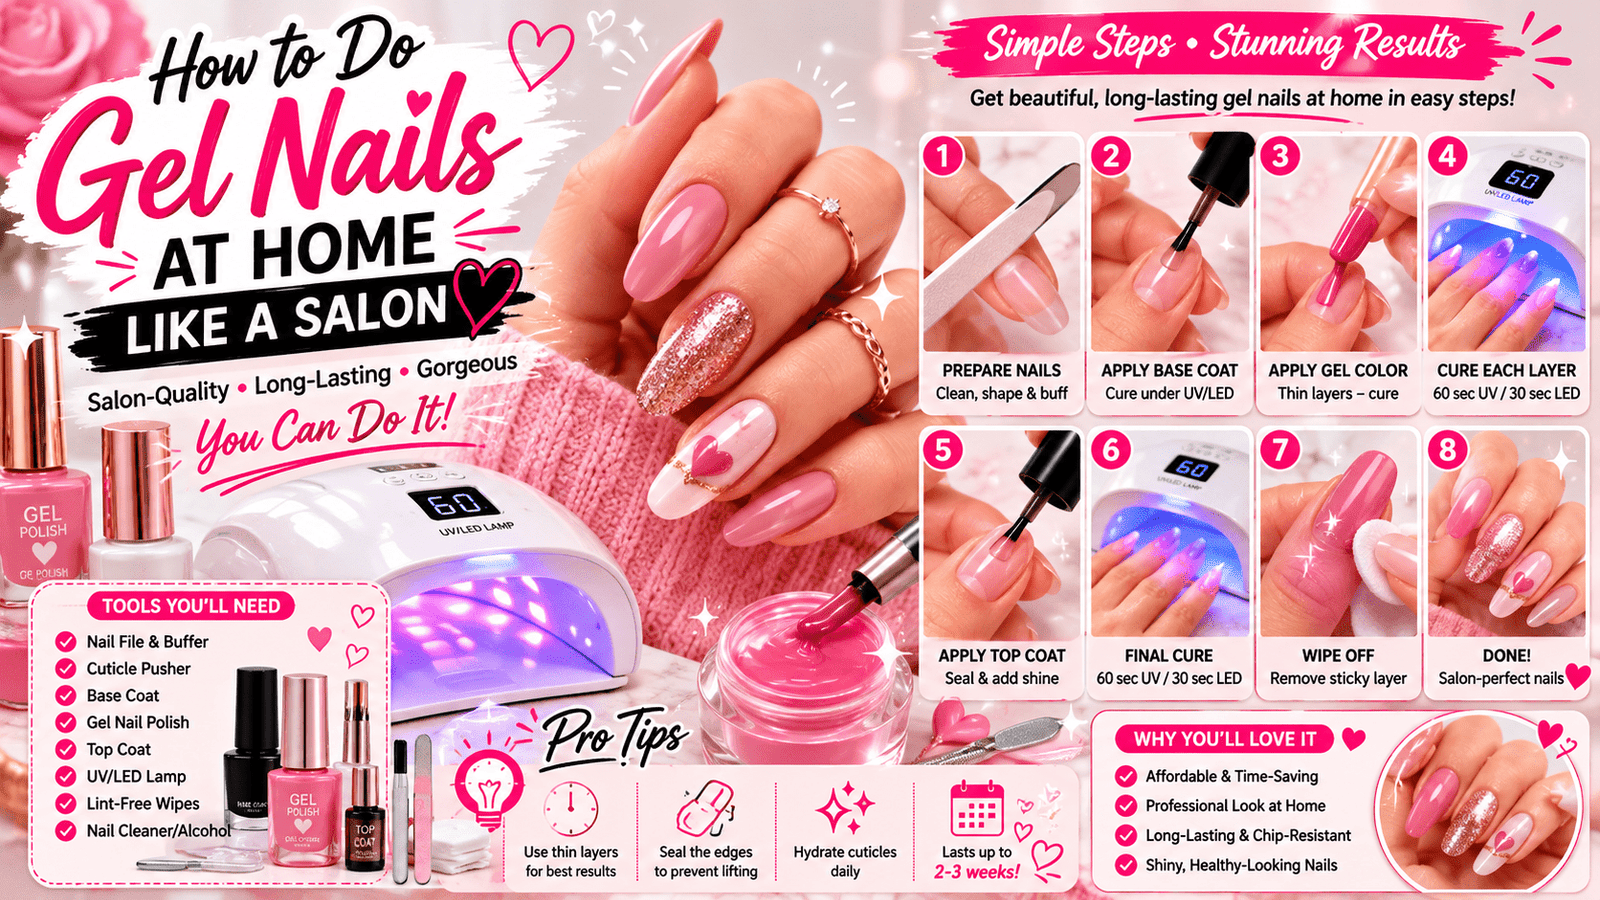
Essential Nail Art Tools for Beginners
• Dotting tool or the back of a bobby pin
• Thin nail art brush (or a regular brush with a few bristles)
• Striping tape or thin nail tape
• Base coat, top coat, and 3–5 nail polish colours
• Quick-dry top coat to seal designs
• Cotton buds and nail polish remover for clean-up
| Budget tip: A toothpick makes an excellent dotting tool. A striped straw can stamp repeating patterns. Great nail art does not require expensive tools. |
15 Beginner Nail Art Designs
1. Classic French Tips
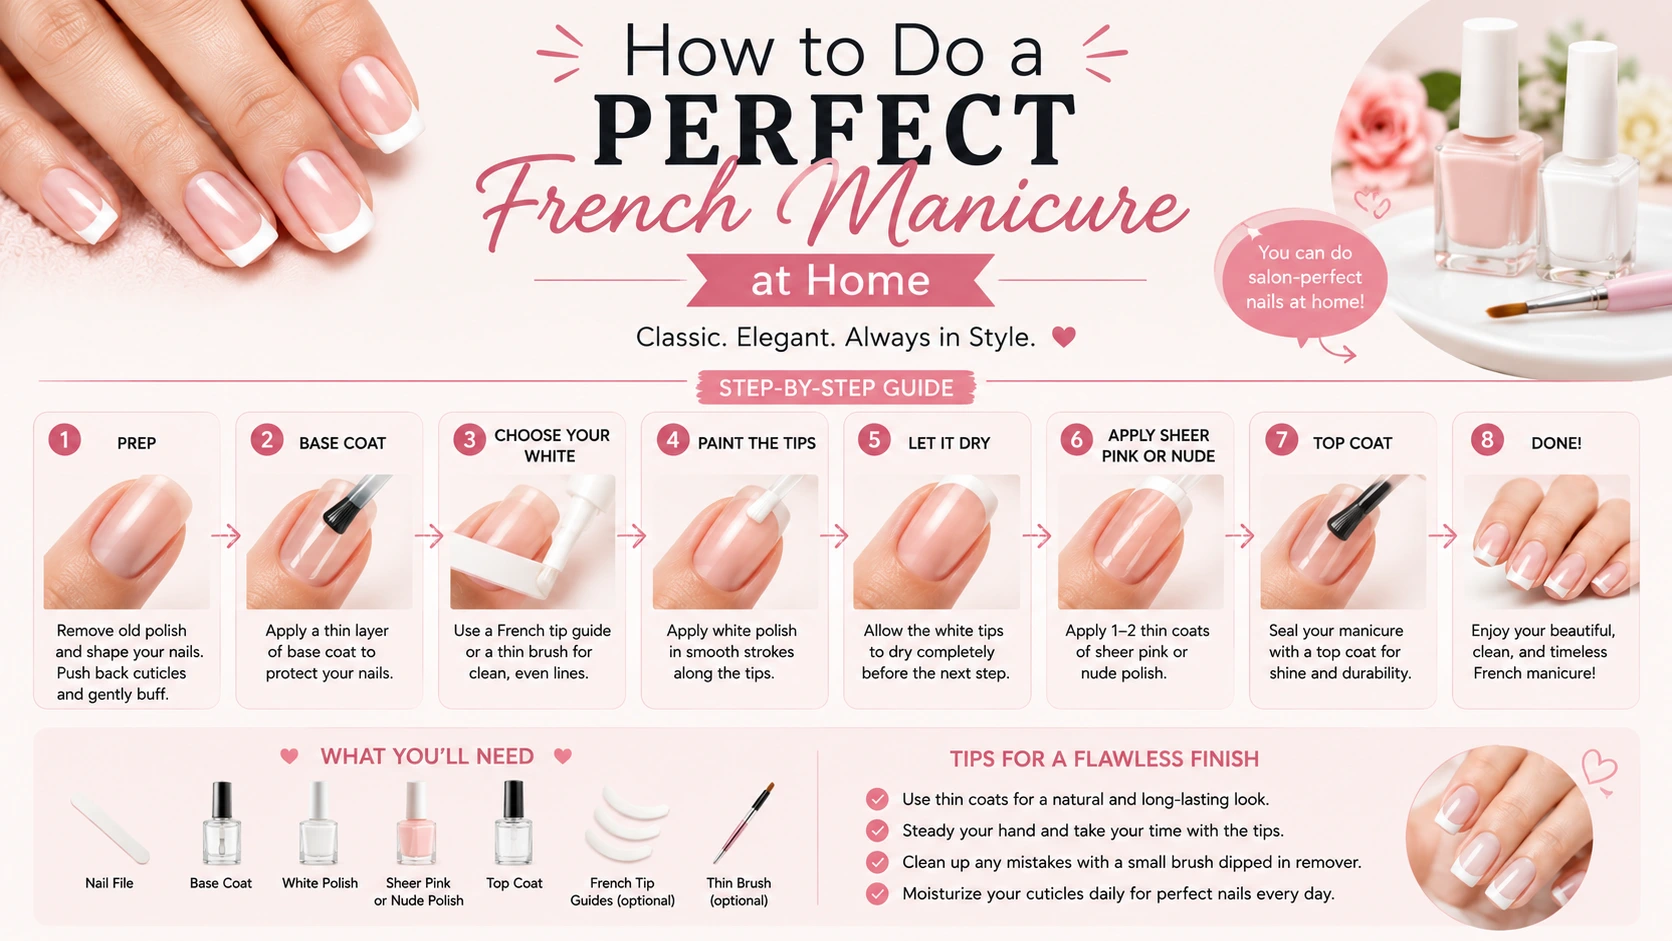
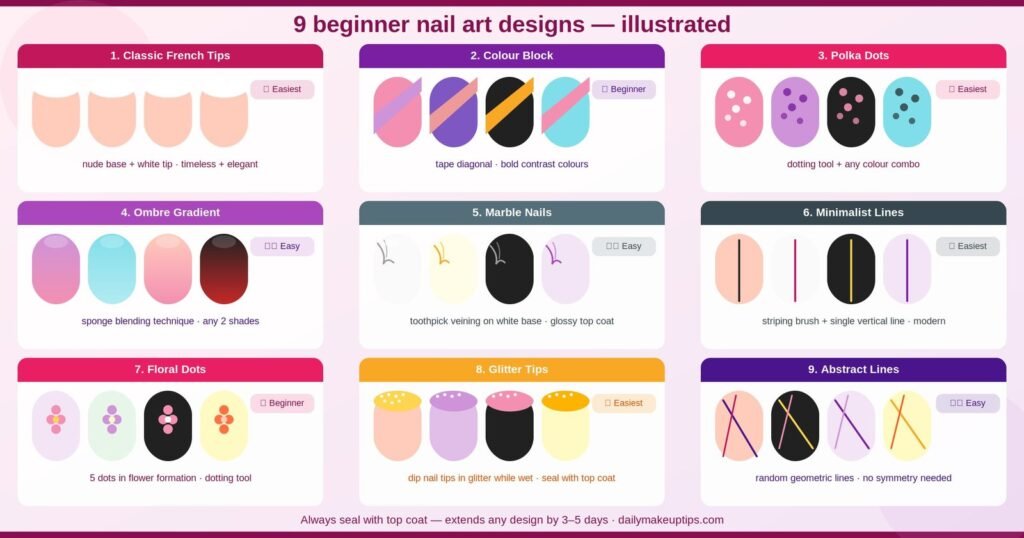
Apply a nude or pink base coat. Once dry, use a white polish and a thin brush or tape to paint a curved line across the tip of each nail. Seal with top coat. Clean and timeless.
2. Colour Block
Apply tape diagonally across the nail. Paint one section a bold colour, let dry slightly, remove tape carefully, and seal with top coat. Try contrasting colours like black and white, or pink and nude.
3. Polka Dots
Apply a solid base colour. Dip a dotting tool or bobby pin back into a contrasting colour and dot evenly across the nail. Vary the dot size for a playful look. Seal with top coat.
4. Negative Space Half Moon
Apply a circle reinforcer sticker (office supply) to the base of each nail. Paint over the nail with your chosen colour. Once dry, remove the sticker to reveal a clean half-moon at the base. Seal with top coat.
5. Ombre / Gradient Nails
Apply two colours side by side onto a makeup sponge. Dab the sponge onto the nail in a pressing motion to transfer the gradient. Build up in layers. Clean edges with a cotton bud and seal with top coat. This technique looks professional with very little practice.
6. Stripe Accent Nail
Paint all nails one colour. On the accent nail (ring finger), apply vertical stripes using striping tape and a contrasting colour. Remove tape while wet for clean lines.
7. Marble Nails
Apply a white base. Using a thin brush or toothpick dipped in grey or black, draw irregular veining lines across the nail in a diagonal direction. Blur slightly with a dry brush. Seal with a glossy top coat.
8. Floral Dots
Apply a base coat. Using a dotting tool, create five dots in a flower formation — one centre dot, four surrounding it. Use a contrasting colour for the centre dot. Repeat on one or two accent nails.
9. Abstract Lines
Apply a nude base. Using a thin nail art brush and a bold colour, draw random geometric lines across the nail in varying directions. No symmetry needed the randomness is the design.
Most Recommended
10. Glitter Tips
Apply a nude or clear base. While still slightly wet, dip the tips of your nails into fine cosmetic glitter. Press gently and tap off the excess. Seal with two layers of top coat.
11. Tortoiseshell
Apply an amber/honey base. While wet, dab irregular patches of dark brown and black using a small brush or sponge. Blend edges slightly while wet. The imperfection is what makes it realistic. Seal with a glossy top coat.
12. Minimalist Lines
Apply a nude base coat. Using a thin striping brush dipped in black or gold polish, draw one clean vertical line down the centre of each nail. Simple, modern, and incredibly elegant.
13. Cloud Nails
Apply a sky-blue base. Using a dotting tool or toothpick dipped in white, create clusters of overlapping dots along the top edge of the nail to form cloud shapes. Add tiny more dots around the main cluster for a fluffy edge.
14. Heart Accent
Apply a nude or pastel base. On the accent nail, create a heart by placing two dots side by side with a dotting tool, then dragging them downward to a point with a toothpick while still wet. Seal with top coat.
15. Coloured Tips
The same technique as French tips but using any colour you like instead of white. Try pastel tips on a nude base, or black tips on a deep berry base for an edgy twist on a classic.
Nail Art Tips for Beginners
• Apply thin coats thick polish smudges, bubbles, and takes forever to dry
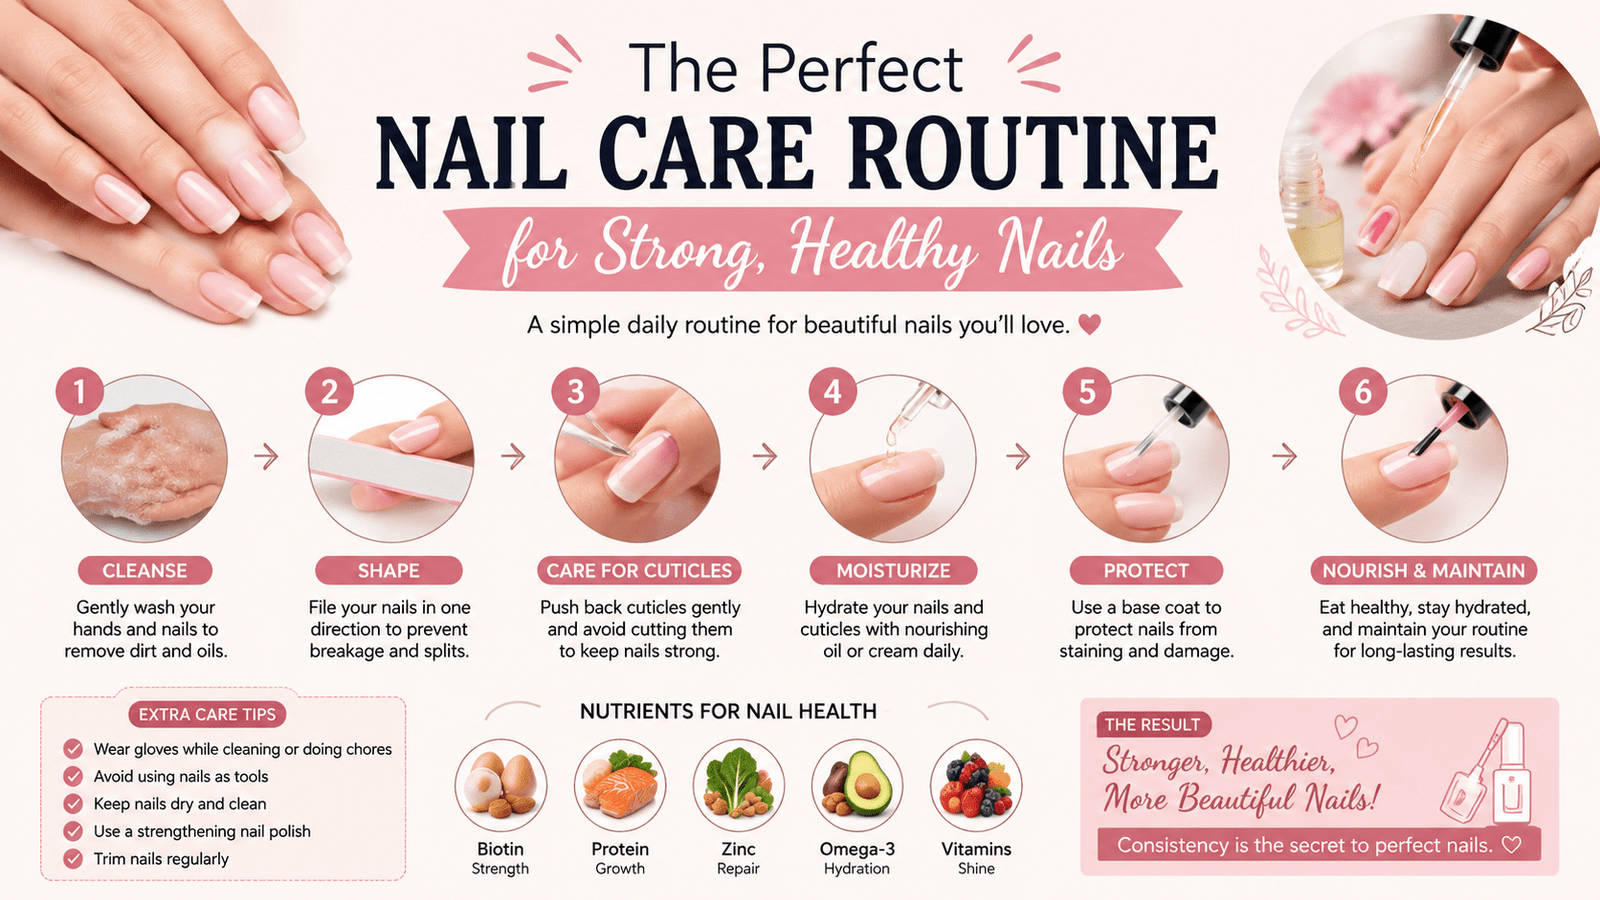
• Always start with a base coat it protects your nails and makes polish last longer
• Always end with a top coat it prevents chipping and makes your design last 5–7 days
• Use quick-dry drops if you are impatient they genuinely halve dry time
• Clean up with a small brush dipped in acetone for professional-looking edges
Final Thoughts
The best nail art practice is consistent repetition. Try one new design each week and you will be genuinely impressed by how quickly your skills develop. Start with polka dots and colour blocking, then work your way up to marble and tortoiseshell. Your nails are a canvas you get to refresh every week.